Can I Install a Garage Door Opener Myself?
You can install a garage door opener yourself with proper planning and the right tools. The process involves assembling the rail system, mounting the header bracket, attaching the opener unit to the ceiling, and connecting it to the door. You'll need equipment like a drill, wrenches, screwdrivers, and a sturdy ladder. Safety is paramount; wear protective gear, clear your workspace, and disconnect the power supply before starting. While DIY installation can save money and provide a sense of accomplishment, it requires careful attention to manufacturer instructions and safety precautions. If you're unsure about any aspect, consulting a professional is advisable. Understanding the intricacies of this project can lead to valuable insights about your home's mechanical systems.
Garage Door Opener Installation Process

Installing a garage door opener yourself requires careful preparation and attention to detail. You'll need to gather the necessary tools and materials, including a drill, wrenches, screwdrivers, and the opener kit itself.
Before starting, verify to measure the garage opening to confirm that the new door will fit correctly, following the guidelines provided by Future Garage Door Installations & Repairs. With your chosen model in hand, follow a step-by-step installation guide specific to your opener.
Throughout the process, it's essential to prioritize safety precautions, such as disconnecting power sources, using a sturdy ladder, and enlisting help for heavy lifting, to guarantee a successful and secure installation.
Tools and Materials Needed
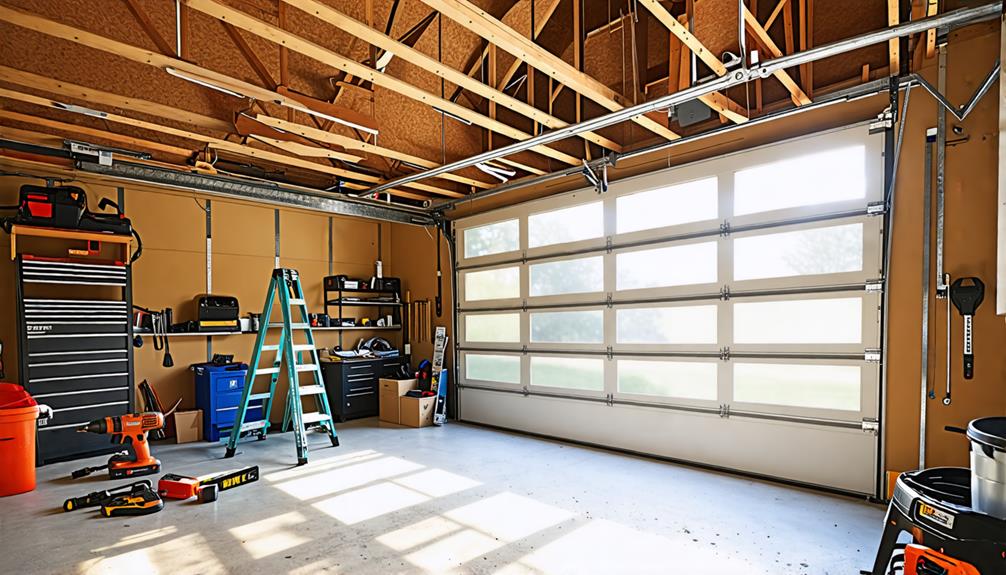
For a successful garage door opener installation, you'll need a well-stocked toolbox and the right materials. Essential tools include a drill with various bits, adjustable wrenches, screwdrivers, pliers, a socket set, a level, and a tape measure. You'll also require a sturdy ladder to reach the ceiling of your garage. Don't forget safety equipment like work gloves and protective eyewear.
In terms of materials, you'll need the garage door opener kit itself, which typically includes the motor unit, rail system, and various mounting brackets. Additional materials may include a surge protector, electrical wire and connectors if you need to install a new outlet, and wood for a mounting board if your garage ceiling requires reinforcement. Some installations might necessitate additional angle iron or perforated angle for mounting.
Have you considered the specific requirements of your garage? Depending on your door type and garage layout, you might need specialized hardware or extension kits. It's important to carefully review the manufacturer's instructions and make sure you have all necessary components before beginning the installation process. Are there any unique features of your garage that might require additional tools or materials?
Step-By-Step Installation Guide
Now that you've gathered all the necessary tools and materials, it's time to begin the installation process. Start by carefully reading the manufacturer's instructions, as they'll provide specific guidance for your model.
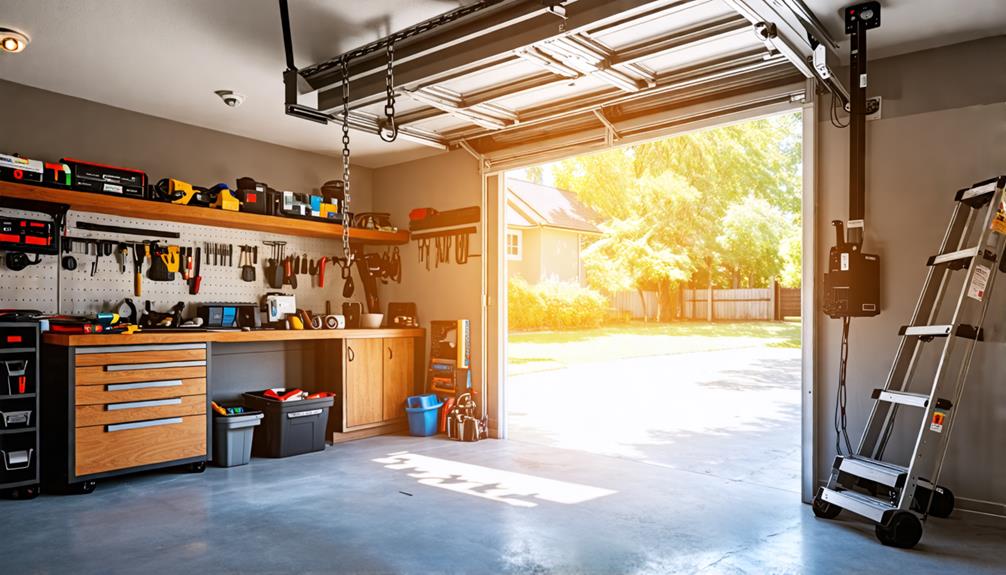
First, assemble the rail system, connecting the trolley to the rail and attaching the belt or chain drive. Next, mount the header bracket above the garage door, ensuring it's securely fastened to a structural support. Lift the opener unit and attach it to the ceiling-mounted brackets, making sure it's level and properly aligned with the door.
Connect the opener to the garage door by attaching the door bracket and connecting rod. Install the safety sensors near the bottom of the door tracks, wiring them to the opener unit. Mount the wall control panel and connect it to the opener.
Safety Precautions
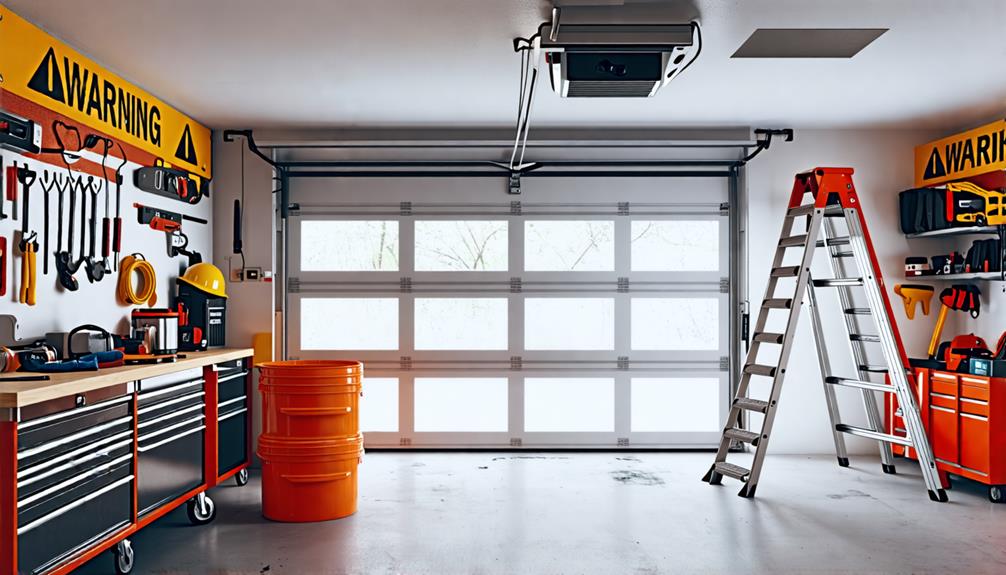
When it comes to garage door opener installation, safety should be your top priority. You'll be working with heavy equipment, electricity, and moving parts, so it's essential to take proper precautions. Before you begin, make sure you have the right tools and safety gear, including gloves, safety glasses, and a sturdy ladder.
Remember these key safety measures:
- Disconnect the power to the garage door opener before starting any work
- Use a helper to assist with lifting and positioning heavy components
- Keep children and pets away from the work area during installation
Always read the manufacturer's instructions thoroughly before proceeding. You'll need to be aware of potential pinch points, proper cable tension, and correct sensor alignment. When working with the torsion spring, exercise extreme caution, as it's under high tension and can cause serious injury if mishandled. If you're unsure about any aspect of the installation, don't hesitate to consult a professional. It's better to ask for help than to risk injury or damage to your property. By following these safety guidelines, you'll be well-prepared to tackle your garage door opener installation with confidence and care.
Benefits

Installing a garage door opener yourself offers several compelling benefits. Not only do you enjoy significant cost savings by avoiding professional installation fees, but you also get the chance to understand the mechanism of your garage door, which could be beneficial for future garage door repair and maintenance.
You can schedule the project at your convenience, working around your own timetable. Additionally, you'll gain a sense of accomplishment and the opportunity to customize your installation, potentially adding features like smart home integration or enhanced security options that align with your specific needs and preferences.
Cost Savings
One of the biggest benefits of DIY garage door opener installation is the potential for significant cost savings. When you choose to install the opener yourself, you'll eliminate the labor costs associated with professional installation, which can often constitute a substantial portion of the total expense. By purchasing the garage door opener kit and necessary tools, you're primarily paying for materials rather than service fees.
Consider the following cost-saving aspects:
- You can shop around for the best deals on garage door opener kits
- There's no need to pay for a technician's travel time or emergency service fees
- You have the flexibility to complete the installation at your own pace, avoiding rush charges
Moreover, the skills you acquire during the installation process can prove valuable for future maintenance and troubleshooting. You'll gain an intimate understanding of your garage door opener's components and functionality, potentially saving you money on minor repairs down the line. However, it's pivotal to weigh these cost savings against the time investment required and the potential risks associated with improper installation. Are you confident in your ability to complete the task safely and effectively?
Flexible Installation Schedule
Beyond the financial advantages, DIY garage door opener installation offers you the freedom to work on your own schedule. You're not constrained by a contractor's availability or forced to take time off work to accommodate their timetable. Instead, you can tackle the project during evenings, weekends, or whenever it's most convenient for you.
This flexibility allows you to approach the installation methodically, breaking it down into manageable steps if needed. You might choose to mount the opener unit one day, run the wiring the next, and finally install the safety sensors and test the system on a third day. Additionally, you can take your time to carefully read the manufacturer's instructions, double-check your work, and guarantee everything is installed correctly without feeling rushed.
Have you considered how this flexibility might impact your other commitments? By controlling the installation timeline, you can seamlessly integrate the project into your existing schedule. This approach minimizes disruption to your daily routine and allows you to maintain your productivity in other areas of your life while still accomplishing this home improvement task.
Sense of Accomplishment
A surge of pride washes over you as you press the button and watch your newly installed garage door opener smoothly lift the heavy door. This sense of accomplishment is a significant benefit of tackling the installation yourself. You've not only saved money but also gained valuable skills and knowledge about your home's mechanics.
Installing a garage door opener yourself offers several rewarding experiences:
- Overcoming challenges and problem-solving during the installation process
- Learning about electrical wiring, mechanical systems, and safety features
- Customizing the opener's settings to perfectly suit your needs
As you reflect on the project, you'll realize you've developed a deeper understanding of how your garage door system functions. This knowledge will serve you well in future maintenance tasks and troubleshooting. You've also proven to yourself that you're capable of handling complex home improvement projects. This newfound confidence may inspire you to take on other DIY tasks around your home, potentially saving you even more money in the long run. Remember, however, that safety should always be your top priority when undertaking such projects, and don't hesitate to seek professional help if you encounter difficulties beyond your expertise.
Customization Opportunities
Flexibility is a key advantage when you install your own garage door opener. You'll have the freedom to choose from a wide range of models, features, and accessories that best suit your specific needs and preferences. Whether you're looking for a belt-drive opener for quiet operation, a chain-drive for durability, or a screw-drive for low maintenance, you can select the perfect mechanism for your garage.
Furthermore, you'll have control over additional customization options. Do you want a smart opener that integrates with your home automation system? Or perhaps you'd prefer one with enhanced security features, such as rolling code technology? By handling the installation yourself, you can easily incorporate these elements without relying on a contractor's limited inventory. You'll also have the opportunity to position the opener and its components exactly where you want them, ensuring ideal functionality and aesthetics.
Want to add extra safety sensors or a backup battery system? You can do so at your own pace, tailoring the installation to your unique requirements. This level of customization allows you to create a garage door system that perfectly aligns with your lifestyle and security needs.
Safety Precautions During Installation

When installing a garage door opener yourself, prioritizing safety is imperative. You'll need to wear appropriate protective gear, including safety glasses, gloves, and a hard hat, to shield yourself from potential injuries. Before beginning, verify your workspace is clear of obstacles and disconnect the power supply to prevent electrical accidents.
| Safety Measure | Purpose |
|---|---|
| Safety Glasses | Protect eyes from debris |
| Work Gloves | Guard hands against cuts and abrasions |
| Hard Hat | Safeguard head from falling objects |
| Clear Workspace | Prevent trips and falls |
Wear Protective Gear
Safeguarding yourself should be your top priority when installing a garage door opener. Proper protective gear is essential to prevent injuries and guarantee a safe installation process. You'll need to equip yourself with the following items:
- Safety glasses to shield your eyes from debris and dust
- Work gloves to protect your hands from sharp edges and pinch points
- A hard hat to guard against falling objects or accidental head impacts
Don't underestimate the importance of sturdy, non-slip footwear to maintain stability on ladders and uneven surfaces. Long sleeves and pants can provide additional protection against scrapes and cuts.
When working with electrical components, consider using insulated tools and wearing rubber-soled shoes for added security. Are you prepared to work at heights? If so, verify you have a stable ladder and a helper to spot you. Remember, garage door springs are under high tension and can cause severe injuries if mishandled.
If you're unsure about any aspect of the installation, don't hesitate to consult a professional. Your safety is paramount, and proper protective gear can make the difference between a successful DIY project and a trip to the emergency room.
Clear Workspace Area
Before diving into the installation process, you'll need to clear your workspace area. Remove any clutter, tools, or equipment that might obstruct your movement or create tripping hazards. Guarantee that your garage floor is clean and dry, as a slippery surface can lead to accidents during installation. If you have a workbench or storage shelves near the installation area, consider temporarily relocating them to create more space.
Next, assess the lighting conditions in your garage. Adequate illumination is vital for a safe and efficient installation process. If necessary, set up additional work lights to eliminate shadows and dark corners. Don't forget to clear the area above where you'll be working, as you'll need unobstructed access to the ceiling for mounting the opener unit and rail system.
Are there any vehicles in the garage? If so, move them outside to maximize your working space. This will also protect them from potential falling tools or debris. Finally, gather all the necessary tools and components for the installation, organizing them in a nearby, easily accessible area. By thoroughly preparing your workspace, you'll create a safer environment and streamline the installation process.
Disconnect Power Supply
Safety should always be your top priority when installing a garage door opener. Before you begin any work, it's vital to disconnect the power supply to your garage. This step prevents accidental electrocution and ensures a safe working environment. Locate your garage's circuit breaker box, which is typically found in the basement, utility room, or on an exterior wall. Identify the circuit that controls the garage's electrical supply and switch it off.
To confirm that the power is indeed disconnected, follow these steps:
- Test any existing garage lights or outlets with a voltage tester
- Attempt to operate the current garage door opener, if present
- Double-check with a non-contact voltage detector around electrical boxes and wires
Once you've verified that the power is off, you can proceed with the installation process. However, it's crucial to note that if you're uncomfortable working with electrical systems or unsure about any aspect of the installation, it's best to consult a professional. Remember, garage door openers operate on 120-volt circuits, which can be dangerous if not handled properly. By taking these precautions, you'll considerably reduce the risk of injury and create a safer environment for your DIY project.
Frequently Asked Questions
How Long Does a Typical Garage Door Opener Last?
Your garage door opener typically lasts 10 to 15 years. However, you'll find that with proper maintenance, it can serve you even longer. Regular check-ups and timely repairs can considerably extend its lifespan. Don't neglect it!
Can I Use My Existing Garage Door With a New Opener?
You can usually use your existing garage door with a new opener. First, check if your door is in good condition and properly balanced. Guarantee the new opener's lifting capacity matches your door's weight and size requirements.
What's the Difference Between Chain-Drive, Belt-Drive, and Screw-Drive Openers?
You'll find three main types of garage door openers. Chain-drives are affordable but noisy. Belt-drives run quietly but cost more. Screw-drives offer a balance of price and noise level, requiring less maintenance. Choose based on your budget and noise preferences.
Are Smart Garage Door Openers Compatible With All Types of Doors?
You'll find most smart garage door openers are compatible with various door types. However, it's pivotal to check the opener's specifications and your door's compatibility. Some older or custom doors might require additional adapters or professional installation.
How Much Electricity Does a Garage Door Opener Consume?
You'll find that garage door openers consume minimal electricity. They typically use about 100-200 watts when operating, which is only for short periods. When idle, they draw less than 5 watts, costing just a few dollars annually.


